Snowflake
Metamapper supports Snowflake data warehouse as a connection source. Snowflake is a cloud data warehouse with a high degree of scalability.
This guide details how to setup and troubleshoot Snowflake in Metamapper.
Setup requirements
A Snowflake account. Sign up for a free trial on Snowflake's website.
Ability to view database connection details. Metamapper specifically needs the following information:
- Account
- Username
- Password
- Database
Database privileges equivalent to
SYSADMINor higher. This is required to create a database user for Metamapper.
Choose connection method
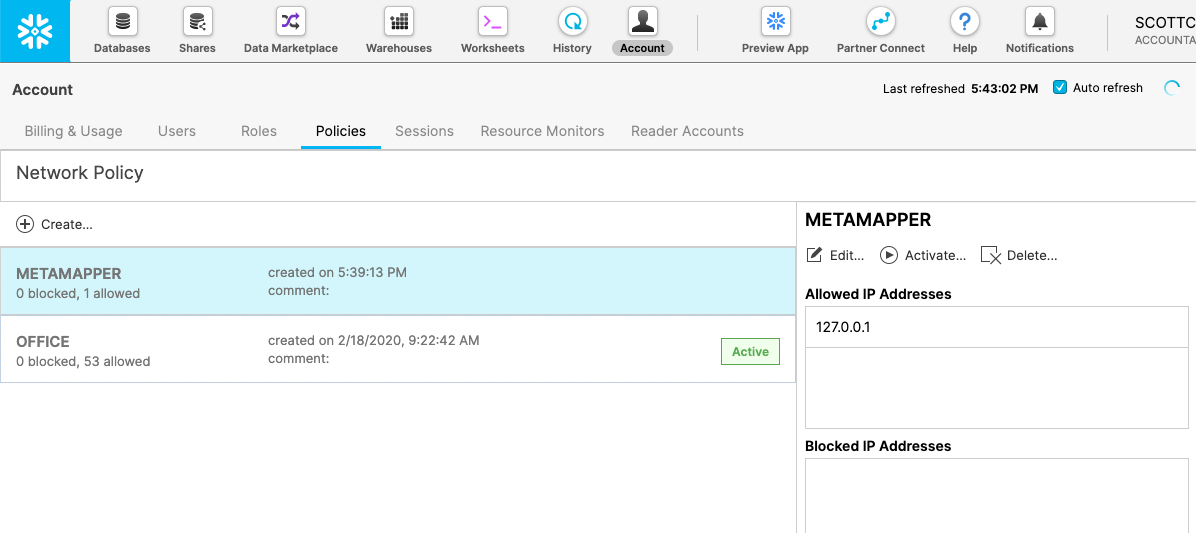
Snowflake is a cloud data warehouse, which means that it is hosted within Snowflake's own infrastructure. Snowflake supports network policies that restrict connections based on IP address.
If you are leveraging that feature of Snowflake, be sure to add your Metamapper IP to your active network policy.
Create warehouse
Snowflake invoices customers for compute usage on a per-second basis. This means that the queries that Metamapper executes will incur a small fee.
To reduce costs, we suggest creating an X-Small compute warehouse with one-minute auto-suspend.
CREATE WAREHOUSE metamapper WAREHOUSE_SIZE = XSMALL AUTO_RESUME = TRUE AUTO_SUSPEND = 60;
Depending on the size of your database, you might need to increase the size of the compute warehouse.
Create user
Metamapper needs a Snowflake username and password so it can periodically scan your data warehouse. We recommend creating a new user so that you can easily isolate Metamapper from the rest of your infrastructure.
CREATE USER metamapper PASSWORD = '<redacted>' DEFAULT_WAREHOUSE = metamapper MUST_CHANGE_PASSWORD = False;
Grant read access to user
Snowflake manages what data users can access via roles. You should create a new role for Metamapper.
CREATE ROLE metamapper;
GRANT ROLE metamapper TO USER metamapper;
The user will need access to the account_usage schema managed by Snowflake. Metamapper uses these views to read metadata about your tables. It will never read the contents of your tables.
The following statements will grant the metamapper role access to these system tables and views. You will need to run this for each database that you which to grant Metamapper access to.
GRANT USAGE, OPERATE ON WAREHOUSE metamapper TO ROLE metamapper;
GRANT IMPORTED PRIVILEGES ON DATABASE snowflake TO ROLE metamapper;
You will need to set the default role on the metamapper user so that the schema inspector can assume it at runtime.
ALTER USER metamapper SET DEFAULT_ROLE = metamapper;
We strongly recommend creating a unique Warehouse, Database and Role for Metamapper to connect to your Snowflake instance rather than re-purposing other credentials.
Questions?
Did this article help? If you have questions or feedback, feel free to submit a pull request with your recommendations, open a Github issue, or join the discussion on Discord.