Getting Started
This guide will help you set up Metamapper once you’ve gotten it installed. If you haven’t installed Metamapper yet, you can check out our Installation guide.
Setting up your Workspace
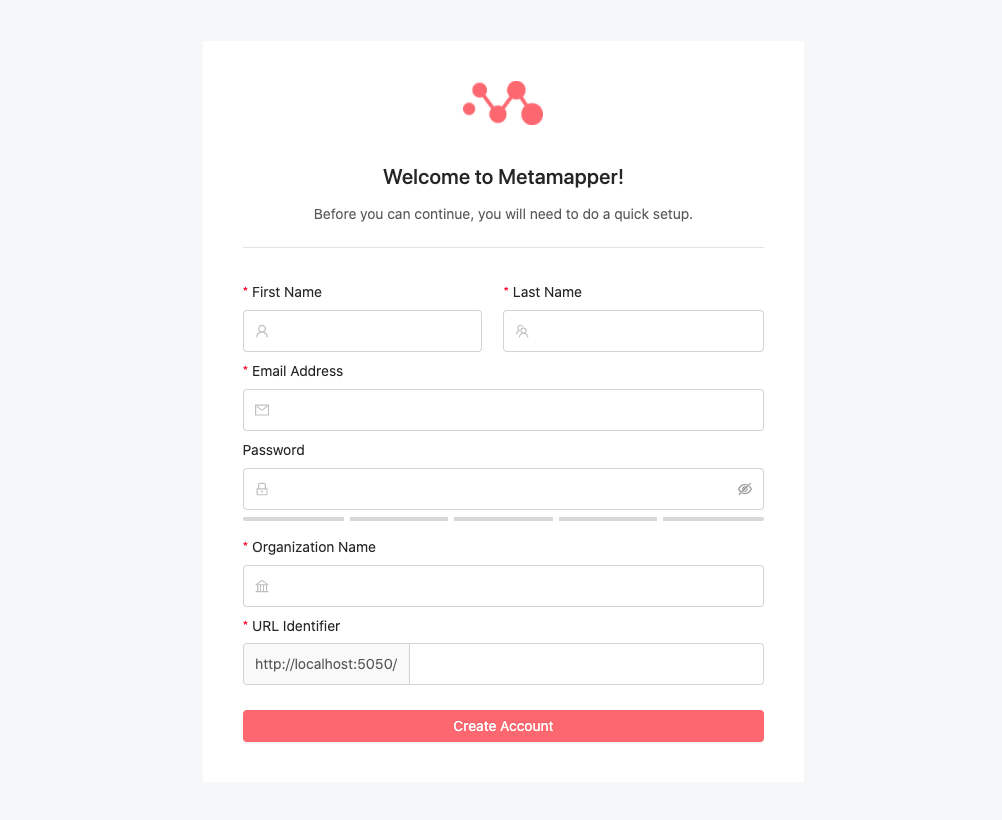
Once you have gone through the installation guide, you should have a running Metamapper instance with everything you need to get started. Metamapper should be available using the DNS name or IP address that you assigned to it.
When you navigate to that address in your browser, you should be re-direct to the account setup page:
Adding a Datastore
Metamapper is all about cataloging your data. In this section, we will set up your first datastore.
Gather datastore credentials
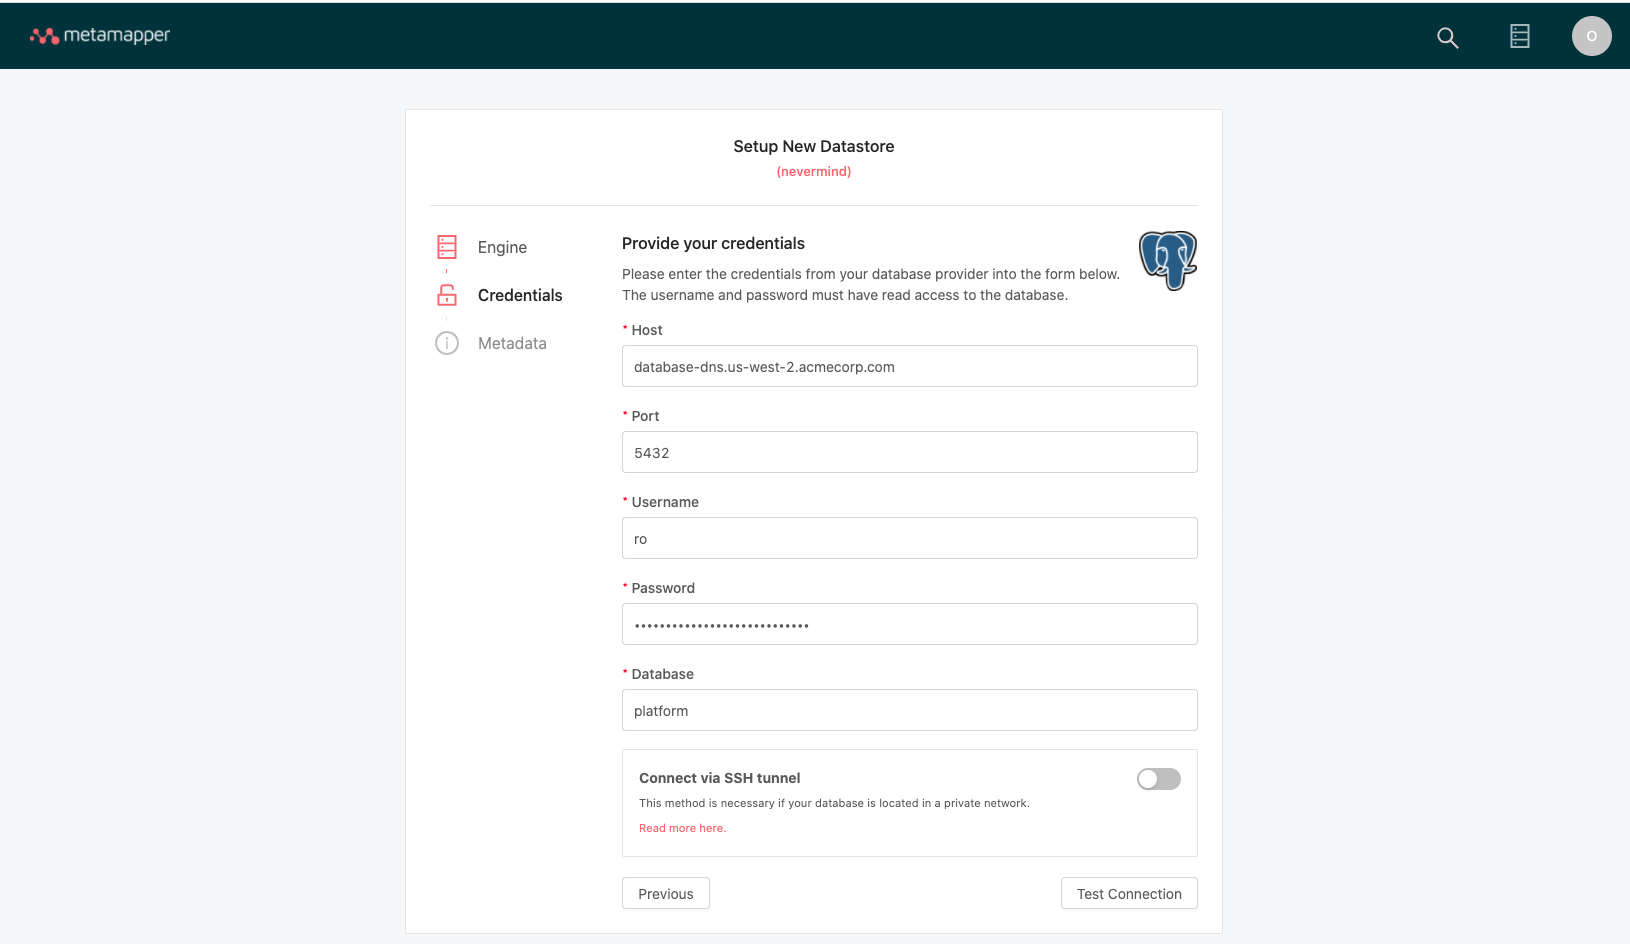
You'll need to gather some information about the datastore you want to connect to Metamapper:
- The hostname of the server where your database lives
- The name of the database
- The port the database uses
- The username you use for the database
- The password you use for the database
Best security practices dictate that you provide credentials with the least permissive credentials needed to operate. Metamapper only ever requires read access to your datastore, so we recommend that you use readonly username and password when setting up your datastore.
If you do not have access to this information, we recommend that you contact your IT department or systems adminstrator to get it.
Connecting to the datastore
Now that you have the required database information, you can connect your database to Metamapper. You will need to navigate to the New Datastore page to start this process.
Enter your database information into the form and keep following the setup wizard to finish datastore setup.
Handling connection errors
We test every added connection by executing a SELECT 1 query using the provided connection information. If Metamapper is unable to connect, you will not be able to complete the datastore setup process.
Generally, we'll display the error message as a pop-up notification. If that's not helpful, there are a few things that you can do to troubleshoot:
- Verify that the data warehouse server is running
- Attempt to connect using the same credentials using a client like PopSQL
- Try to connect from the Metamapper server with another client, such as SQLAlchemy or database/sql
- Examine the logs to to see if an exception was thrown
Next Steps
Congratulations! You have connected your first datastore and it has begun syncing.
We recommend checking out the Schema Inspection section to read more about the core concepts of Metamapper and what it does under the hood.