SSH Tunnels
If it is not possible to connect directly to your database (e.g., it sits in a private network), you can connect to Metamapper via a SSH tunnel.
To connect via an SSH tunnel, you need to setup an SSH tunnel server (sometimes referred to as a bastion host) that has access to your database port. Bastion hosts are servers that sit within your public subnet and act as a "jump" server, allowing you to use SSH to login to other instances in a private subnet.
Create SSH user
We recommend creating a separate SSH user specifically for your Metamapper instance. To do this, you will need to run the following commands from within your SSH tunnel server.
Create group metamapper:
sudo groupadd metamapper
Create user metamapper and add it to the metamapper group:
sudo useradd -m -g metamapper metamapper
Switch to the metamapper user:
sudo su - metamapper
Add SSH keys
Metamapper authenticates against your bastion host using public/private SSH key pairs. This section walks through how to properly configure your keys within your bastion host.
First, create the .ssh directory (if it does not exist):
mkdir ~/.ssh
Set permissions on the directory. This means the metamapper user can read, can write and can execute commands against this directory.
chmod 700 ~/.ssh
Create the authorized_keys file. This will contain public SSH keys that are allowed access to the host.
touch ~/.ssh/authorized_keys
Set permissions on the authorized_key file. This means the metamapper user can read and can write to this file as needed.
chmod 600 authorized_keys
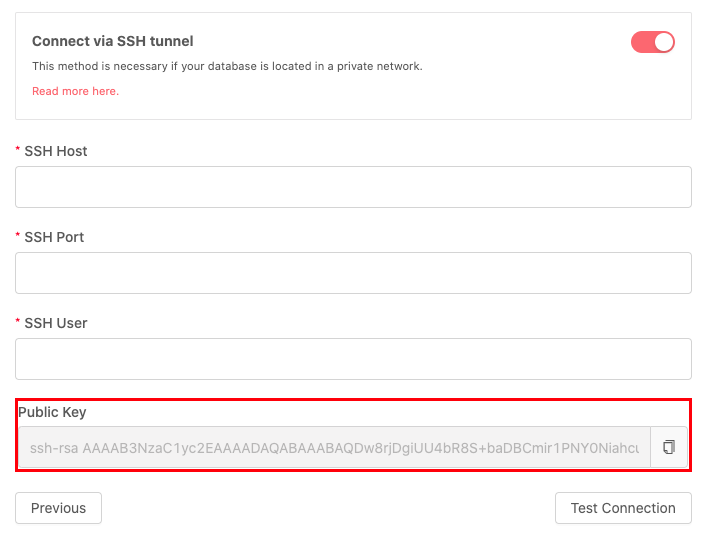
You will need to add the public SSH key from the datatore settings page in Metamapper to the authorized_keys file. This public SSH key is generated uniquely for each Metamapper workspace, so you should only need to do this once per workspace.
Allow port access
Once the user is created, you'll need to allow port access. You should be able to do this using your cloud provider, whether it be using their web UI or a technology like Terraform.
This guide is a good example of how to open up ports on an Amazon EC2 instance.
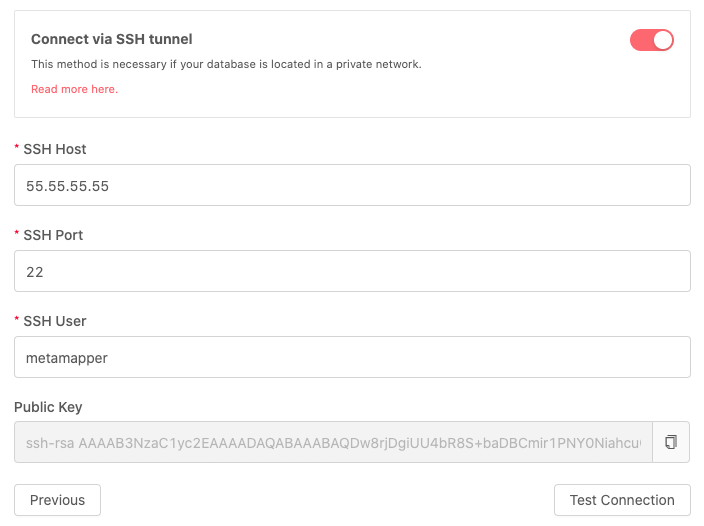
Updating your connection settings
Once the above steps are completed, you can update the datastore connection to use SSH tunneling to connect to the datastore. Metamapper will confirm that our client can connect to your database before we commit your changes.
This feature (and guide) was heavily influenced connection options provided by Fivetran. Kudos!